
It is an undeniable fact that this era is becoming more technical with time. And it is surely going to reach new heights in the coming time. Everything is becoming more and more advanced be it a website or something else. WordPress is no different as the websites are being supported with the launch of WordPress mobile application for iOS and Android. And when using mobile applications has become a popular trend you should also know that setting up WordPress Sign Up is an easy process.
In an application, when a person visits it for the very first time then he/she will have to sign up to become a register user. It will help him/her to use the application and all of its functionalities. Here we will provide a simple yet informative guide for the process. This will walk you through each step. And after that you will be able to use the smartphone application smoothly and get the most out of it. A WordPress mobile application can prove to be very helpful as it allows you to create and sign in to your site without a laptop. You can do your work from anywhere and at any time.
Detailed Overview of WordPress Sign Up and Site Creation:
WordPress Sign Up:
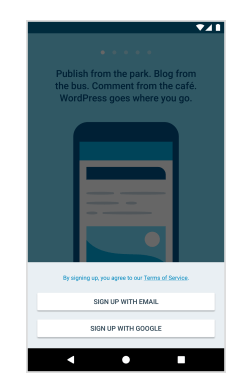
- On WordPress.com you will get different options. You can choose whether you want to sign up via email or sign up via your Google account.
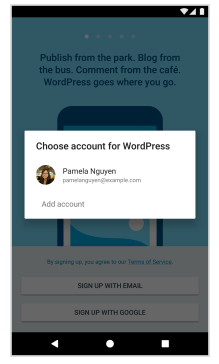
- First of all if you choose Google sign up process, then you will see a screen like this.
- And if you choose the other option which is sign up via email option, then you will receive a signup email on your given email address from WordPress.com.
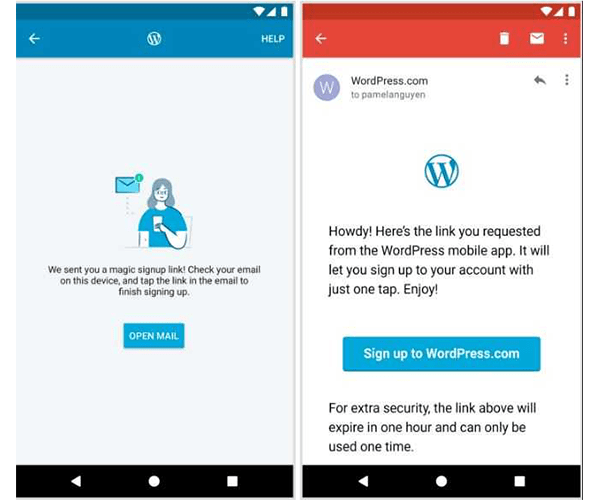
- You will have to click on the link and complete the process.
- After this, you will see a final screen where you will be able to enter or change your name and username. WordPress also gives some suggestions of available usernames for you. You can choose any of them if you want to.
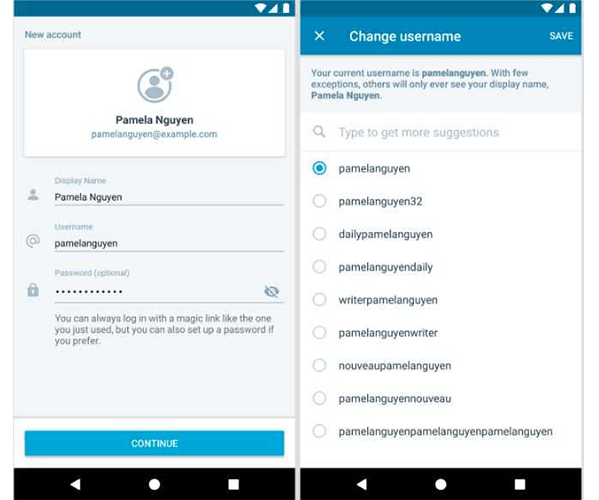
- If you have selected to sign up via email then you will also have an option to set an account password.
- Now the signup is complete. You can start creating your website.
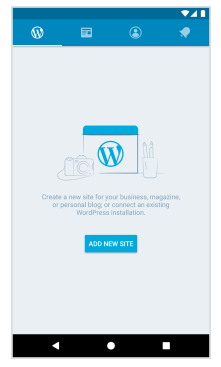
Site Creation On Mobile:
The updated site creation flow is more flexible as compared to the previous one. You are also provided with many additional options.
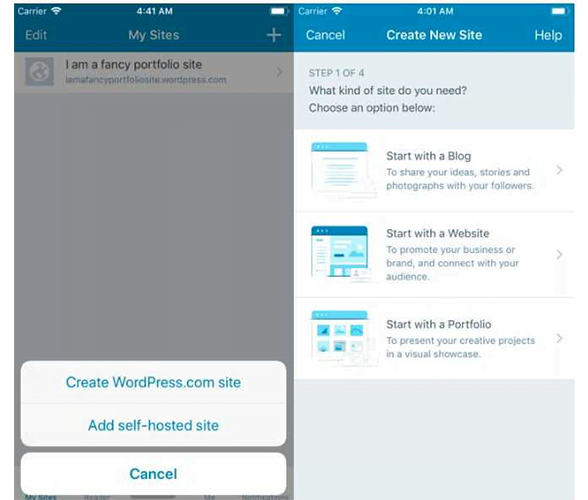
- First of all you will have to select the type of website you want to create. It can be anything like a business website, portfolio or blog website.
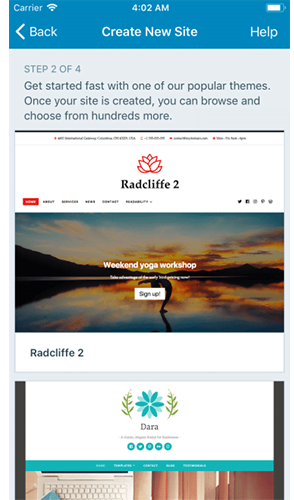
- In the following step, you will have different options for mobile-friendly starter themes. You can choose any of them.
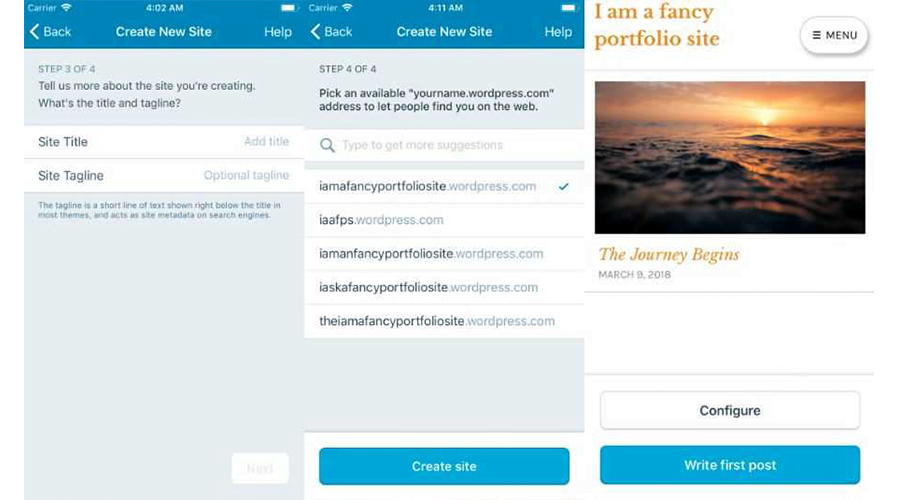
- Once you are done with selecting the theme, you can the title and tagline for your website.
- On the basis of the title you have entered, WordPress.com will provide you with a list of all the available domain name suggestions. You can pick any of them.
- Once you select a domain, your site will be created. You will also have an option to see the preview of it.
- At that time, you will get to decide whether you want to configure the site settings or start creating your first post right away.
Additional Things You Can Do:
There are two additional things that you can do to manage your blog or website efficiently.
Add Categories and Tags:
You can select the category(s) from the available ones before publishing your post. If you do not find a suitable one then you can also create a new one. There is also an option to add different tags of your choice. If you are an iOS user then you will see three dots at the top right corner of your phone screen. You have to click on that icon and then select the Options button. On the other hand, if you are an android user then you will have to tap the gear icon that is also present at the top right corner. This will allow you to categorize your posts together whereas tags will allow people to search for them and easily increase your traffic. Make sure to use 15 or less categories and tags.
You may also read: how to fix error 429 too many requests
Edit Post Slugs and Excerpts:
Slug is the part of the URL of a respective post that comes after .com or any other website extension. WordPress generates a slug automatically for your post by using the title you have given to it. It means if you choose a long title then your post will have a long URL. However, if you are using the application then you can shorten the link by editing the slugs.
You can also edit and add excerpts; these are like summaries to the post through the application. There is a theme that shows the excerpts on the home page otherwise you can simply add it to the post. The best thing is that it is available for WordPress.com Reader that gives you maximum control over the things presented there.
To make the things even simpler for you, there is an option to use a WordPress sign up plugin.
Wrapping Up!
When you decide to create a digital presence for your business, the first thing that comes to your mind is to create a website. But it is not as easy as it may seem at first. It is not possible to have access to a laptop or desktop always. So here we have explained the process of WordPress sign up and site creation on mobile devices.
Do you want to know how to get started? Or have some other questions about it in your mind? If yes, then you can take some help from experienced WordPress professionals.
You do not have to worry if the need of any professional help arises. We are always there for you. We have a large and dedicated team of WordPress experts who can help you with everything related to WordPress. If you have any queries about WordPress Security Services, WordPress Installation, Landing pages etc. then also we can help. You can contact us on WordPress Customer Service Number 1-866-332-O276. We are available 24×7.